Materials:
-
You will need multiple paper lunch bags per book.
-
Hole punch
-
Ribbons or yarn
-
Markers, crayons, pencil, and paper for additional decorations
Directions:
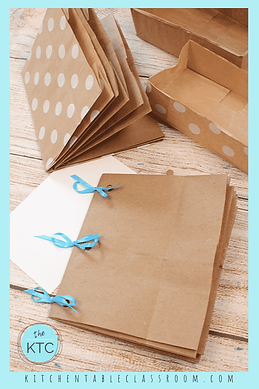
Yours will look different from the pictures below because your bags will open at the top, not the side.
1. Trim the top edge of each bag.
2. Punch three holes in the left side of each bag.
4. Use yarn or ribbon to tie the bags together.
On the front, design an interesting cover to interest a classmate to want to read your book. You must include the title, author, and a picture from the story. Do not use one that’s already provided on the front of your book. Draw the setting and/or characters from your book as part of your design. You may use a variety of materials and textures as part of the design. May use crayons, markers, paint, or colored pencils; be creative.
On the back, write a summary of your book. Be sure to include the important parts of a story: character, setting, problem, a FEW details, and the solution. Also tell about your favorite part of the story.
In each section, include items that "tell" the important parts of the book. Choose these items carefully so that you have one or two for each section (beginning, middle, and end) of your book. Only one item can be a picture drawn by you. The rest must be 3-dimensional items.